So, you want to be a backcountry skier or snowboarder? Great choice. No more chairlift rides or moguls for you because there’s a whole world of incredible, untracked mountains out there to explore. But the backcountry isn’t all powder and sunshine. There’s also breakable crust, bushwhacking, and of course, avalanche hazard. Put simply, the backcountry is a wicked learning environment, and it’s not for the unprepared.
This isn’t a checklist for your first tour or a gear guide that will fully equip you for your first day. Yes, those are helpful, but becoming a backcountry aficionado involves more than signing up for a class and obsessing over a pile of ultralightweight gear. It requires gaining relevant experience through a mixture of formal avalanche education, self-taught practice and trial and error, all while honing a relentlessly positive and humble attitude.
This is an outline to help navigate some of the endless questions you’ll face on the journey to backcountry nirvana, like “When do I sign up for which class?” and “how do I find safe areas to gain experience in?” and “Didn’t you say this would be powder? What’s with all the refrozen sastrugi?” Just be patient and enjoy every lovely and excruciating moment along the way. It’s a lesson that’ll come in handy.
Step 1: Learn to Use Your Gear
You know all that essential backcountry gear everyone’s always talking about? It’s no good unless you know how to use it. It’s amazing how much time some people spend researching gear while never practicing with it. I’m not just talking about your rescue gear (beacon, probe, shovel), but also your climbing skins, boots, bindings and poles. Learn how they work in both uphill and downhill mode and how to transition between them.
The best time and place to do this is somewhere low to no consequence where fiddling around with your gear isn’t going to put you at risk or stress you out. Many resorts in Utah have uphill travel policies so you can skin up and ski or snowboard down in groomed, avalanche-controlled terrain.
It’s perfect for figuring out how all those levers, pins and clamps work, while refining your uphill technique and transitions prior to taking an avalanche class or venturing into the backcountry. That way when you actually are in the backcountry or in a class, you can focus on things like learning safe travel habits and making on-the-go observations instead of wondering if you’re supposed to haphazardly slap the sticky sides of your skins together and jam them in your pack—yes—or intricately fold them up like origami using that little mesh piece they came with—no, those things are garbage.
Step 2: Take an Intro Course
You’ve spent a couple of days figuring out how to get uphill and downhill, and the moving parts on your bindings are no longer befuddling puzzles. It’s a great time to sign up for an introductory backcountry course before taking those first bold steps into the backcountry.
The Utah Avalanche Center offers online Know Before You Go and in-person Backcountry 101 classes throughout the season. These aren’t comprehensive avalanche courses, but are instead designed to give students the tools they need to begin traveling in the backcountry by understanding risks and how to mitigate them.
You’ll learn how to read and understand the avalanche forecast by differentiating between avalanche problems and using the danger rating scale. You’ll practice using your rescue gear and work on the basics of identifying, avoiding, traveling in and assessing avalanche terrain. You might even get to ski a little powder along the way.
KBYG and BC101 classes won’t make you an instant expert, but with some online homework and a day in the field, you’ll get a great foundation to start building from as a backcountry skier or snowboarder.
Step 3: Learn Some Safe Areas and Gain Some Experience
Time to put that education into practice by getting some experience in the backcountry. Start small in low consequence, simpler terrain. The UAC has some great resources on their website to help you choose safer routes. Start with the green routes. No, you probably aren’t going to tell your grandkids about that one sick line you shredded in USA Bowl after being on a skin track with 58 other people, but it’s a pretty great place to ski or ride some powder while learning about safe backcountry travel.
Once you’ve identified a few safe areas, go touring in them frequently. Go often enough the navigation becomes easy and you start to recognize features. By becoming familiar with an area in different conditions—sunny but crusty, miserably cold but powdery—you’ll begin identifying how the weather affects the snowpack and how things can change both over the course of a day and throughout a season.
Don’t rush this part. Work your way up slowly, at least over the course of your first season before you start stepping into bigger terrain on your own. Refine your skinning technique to save energy. Learn how to manage your temperature throughout the day, and dial in the gear you carry. Gain confidence making observations that help you make smart choices about where to ski, both for avalanche safety and snow quality.
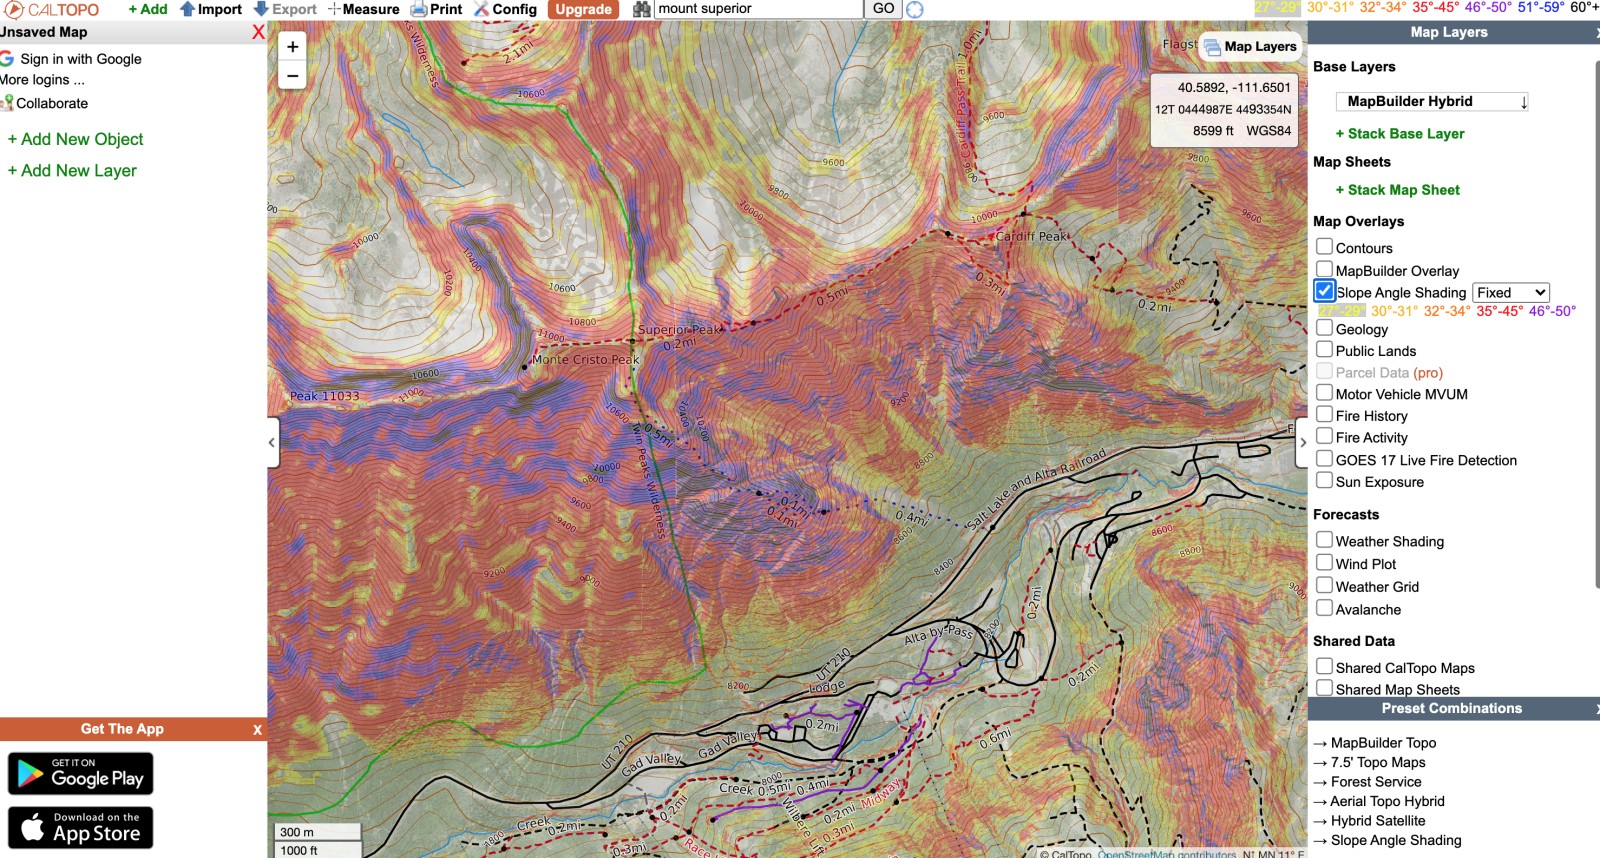
This is also where you should begin using some mapping tools to help you identify and navigate terrain. The Wasatch Backcountry Skiing Map and accompanying phone app are extremely useful and easy to use. There are about a million named runs you can search for route planning. CalTopo is another amazing, free tool. It has detailed topographic maps of the entire earth with slope angle shading, satellite imagery and more. Look up those safe routes from the UAC website, and use the WB Skiing app and CalTopo to map your route, up and down. The practice you get using mapping tools in simple terrain will pay off when you start traveling in more complex areas.

Step 4: Become an Awesome Backcountry Partner
Now that you’re getting out there, you’re going to need some trustworthy partners. You’re going to find better partners if you put in the work to become a solid partner yourself. The better partner you are, the more likely you are to find a group of folks willing to go on absurdly long hikes in awful, uncomfortable conditions, and hopefully find an experienced, knowledgeable Mr. Miyagi-type as a backcountry mentor.
It’s time to take another quick class, this one focused on rescue. The UAC offers four-hour partner rescue classes, and other providers in Utah offer full-day eight-hour rescue courses. These courses are solely committed to practicing avalanche rescue. Take one of these courses, practice on your own, and you’ll become confident and proficient in what to do if there’s a burial. This means you’ll be able to dig someone out, which is a prerequisite for being a solid backcountry partner.

This is also where that patient, humble, positive attitude pays off. Along with all that Instagram-ready powder, you’re going to ski and ride some horrible crust, skin through gloppy snow and do some leg-burning bushwhacking. If you can do it with a smile on your face, your backcountry partners are going to be happy to ask you to do it all again.
This is where the true learning happens. The classes just give you a framework to practice and learn on your own. By taking the steps outlined above you’ll have the tools to be an active member of a backcountry touring group as you gain experience. Whether you’re the greenest or most seasoned person in your group, there’s something to learn each tour. Ask questions, participate in decision making and start to recognize the role group dynamics play in the backcountry. Do this all while being open and understanding, and you’re well on your way to becoming a great backcountry partner.
Step 5: Level Up with a Level 1
Maybe it’s late in your first season touring, or maybe you’ve been at it for a few years. Whatever your personal timetable, you have some backcountry mileage now. It’s a good time for some more education to build on the knowledge you’ve gained through experience. A Recreational Avalanche Level 1 course from a respected source like AIARE or AAI will help you refine your skills and decision-making to become a better backcountry skier or snowboarder.
A Level 1 is a three-day course about avalanche hazard management. This course alone doesn’t make someone an expert, but it provides the tools and decision-making framework to travel in avalanche terrain. Extensive experience isn’t required as a prerequisite, but you’ll get a lot more out of the course if you’ve put in the work and gained some experience in the backcountry beforehand.
There’s a lot of focus on route planning and safe travel that avoids exposure in avalanche terrain, which is more or less the bedrock of low-risk backcountry skiing and snowboarding. I also recommend taking this course with your regular touring partners as it facilitates better communication in the backcountry.
Step 6: Learn to Lead

Many recreational skiers and snowboarders won’t take any formal education after a Level 1. There’s nothing wrong with that, and plenty of continuing education happens as you gain further experience. In fact, after completing a Level 1, you should go get a ton more experience exploring the mountains and figuring out where you want to take your backcountry skiing and snowboarding.
Learning to lead a trip, especially in unfamiliar terrain, is where things become more difficult. Did you plan a hut trip in Idaho in a mountain range you’ve never been to and people are looking to you to help find safe skiing and riding conditions? That can be tough, especially when an area doesn’t have comprehensive avalanche forecasting and route-planning resources like the Wasatch. This is where taking a Rec Level 2 course can be helpful.
As with Level 1, the more experience you bring to Level 2 the better. You’ll expand your leadership skills and refine your decision-making framework. A Level 2 helps open doors to new experiences in new mountain ranges.
Step 7: Can’t Stop, Won’t Stop
You’re done! Just kidding. You’re never done. Learning in the backcountry is a lifelong process. Even if you’ve been at it for decades, if you aren’t learning something new every day, you aren’t paying attention. “Mileage is knowledge,” a guy once told me. That guy was kind of crazy, but he’s right. Skiing and riding powder is the best thing on earth, but hazards in the backcountry can catch up to anyone regardless of experience level. That’s why it’s essential to have respect for the backcountry and not rush the process.
Some other guy said, “Education is the path from cocky ignorance to miserable uncertainty.” That guy was Mark Twain. I don’t think he was a backcountry skier, but the statement certainly applies. With each completed step in our backcountry journey, we’re entering new, dangerous territory. Thankfully, there are tools and people to help us along the way. Have fun, be safe, and enjoy the process. We’ll see you on the skin track.


